

Whether you are simply star-gazing or are interested in capturing photos of heavenly bodies, you couldn’t live in a better location than our Silver State. We have so many designated “Dark Sky” areas that you won’t need do drive far to find ideal locations. The beautiful core of the Milky Way rises in the south-east and sets in the south-west. As summer approaches the core is highest in the sky. Of course, there are exceptions, but generally the best quality images will be achieved when the skies are clear, there is no moon and the sun has been set for at least an hour. Check the internet for the sun and moon tables.
Being in an area that has minimal light pollution is one of the basic requirements for producing quality photos of the night sky. One of my favorite things to photograph is the Milky Way. Today, I share my approach, and discuss the basic conditions and equipment you will need to capture stunning images of the Milky Way.
While almost any modern digital camera can produce professional quality images, for best results, you should have a wide angle lens that is fairly fast. By fast I mean the widest aperture (opening of the lens iris) should be at least f/2.8. Although f/4 will work, it will reduce the amount of time you will be able to have the lens open. This will be explained in a moment. To find the speed of your lens, just look at the printing on the lens. You should see something like f-4, f-2.8, or f-1.4, etc. The smaller this number the better the ability of the lens to capture light.
In order for your camera to capture enough light, your exposures will be quite long. In most cases, your goal will be to capture stars that are sharp, pin-points of light. If exposures are too long, the stars will show movement and appear as small oblongs and not sharp dots. With any long exposures, you run the added risk of camera movement. To minimize this, use a sturdy tripod and activate the camera by using a cable release or the camera’s delayed timer. I set my camera to go off after ten seconds.
When setting up your tripod, don’t extend the center column unless necessary. Instead, use only the tripod legs. This will reduce the chance of soft images due to vibration or camera shake caused by a slight breeze. To improve the camera stability, I always hang my backpack from the tripod. This extra weight is especially helpful for lighter tripods.

For maximum coverage of the sky, place the camera in a vertical position. To avoid an excessive foreground, tilt the camera up a bit. Horizontal images can work and are best done when the galactic core of the Milky Way is low in the horizon.
Although the band of stars making up the Milky Way is always visible in the night sky, it is the bright concentration of stars making up the core that everyone thinks of when talking about the Milky Way. Because of the earth’s changing axis, this core is only visible in the northern hemisphere during late spring through early fall. Right now, is a great time. During the winter the core is only visible in the southern hemisphere.
In normal daylight photography, we have always been taught to use the lowest ISO (sensitivity of the camera sensor) setting for the best quality. For regular Milky Way photography, without special expensive gear such as trackers, or complicated editing software, you will need to use very high ISO settings. Depending on the conditions and the lens I’m using, my ISO settings are anywhere from 4000 to 6000. Don’t be afraid to experiment. When previewing or reviewing the image on the screen, be sure to enlarge it so you can determine critical focus. After each shot, I usually review it to check for any camera movement or soft focus.
One mistake most people make is that they don’t reduce the brightness of the camera screen. As a result, the images are at least a stop or two too dark. During the day our screen brightness is usually set high to overcome the bright sunlight. If we don’t make any changes and view the images in the dark of night the images will appear much brighter than the actual image that will be captured on the camera’s sensor. I always set my screen brightness 1.5 stops darker than normal to assure a true representation of the final image.
Navigating in the dark can be a real challenge. I recommend a good headlamp that has adjustable brightness settings as well as both white light and red-light options. Make sure you and anyone with you avoid using the white light unless absolutely necessary. The red light is plenty bright enough and won’t interfere with your night vision. Additionally, I always have a second small flashlight as a backup and for lighting foreground subjects (painting with light).
So much of your approach will be personal preference. As an example, I usually like to find an interesting foreground subject to include in my Milky Way pictures. I think this adds interest by telling a bit about the location. When I do this, I use my small pocket flashlight or the light from my phone to give a very brief exposure to the subject during the regular several-second-long exposure.

Proper focus isn’t as complicated as most people make it out to be. If you simply set the focus ring on your camera to just inside the infinity marker you will be fine. Remember, when using wide angle lenses the depth of field is so great that even wide open, the images will be sharp. To confirm this, before taking the picture enlarge the image on your camera screen by 5x or 10x and critically focus on the brightest star.
 Since I usually have a subject in the foreground, I use the hyper-focal method. The hyper-focal setting is the focus point of the lens that assures maximum depth of field with the lens wide open. This will assure sharp focus of subjects at infinity as well medium to close subjects. Of course, the depth of field increases as you stop down, but stopping down is not what we want to do. We want our lens to gather as much light as possible, so don’t be worried about shooting wide open.
An example, the hyper focus distance of my Rokinon 14mm f/2.8 lens is just under eight feet. If I set my lens to eight feet, everything from infinity to ½ the hyper-focal distance will be in focus. That’s right, everything from infinity to as close as four feet will be sharp. Here is a table to help you determine the hyper-focal distance for your camera and lens. https://www.photopills.com/calculators/hyperfocal-table
To determine the “do not exceed time” for proper exposure times simply divide the focal length of the lens you are using into 500. So, my 14mm lens divided into 500 will give 35. This represents 35 seconds and is the longest time I can use before the stars start taking on oblong shapes instead of being pinpoints of light. This is just a guide. I will use a shorter time…usually 25 seconds.
To illustrate the advantage of using wide angle lenses, if I were using a 50mm lens instead of my 14mm I would only be able to have an exposure time of ten seconds (50 into 500)! In this case, I would need to use a higher ISO.

Another fun thing to experiment with is the white balance. Although you can get good results by just using auto ISO, I much prefer to use the manual settings. Set the white balance to tungsten and watch the sky take on a beautiful blue cast or set it to daylight for a warm golden glow.
My good friend and fellow photographer, Robin Travis, taught me a valuable lesson about the exception to the rule of only photographing under a clear, cloudless sky. The exception is when there is a clearing storm. We were at the Ward Charcoal Ovens State Park south of Ely. The plan was to catch the Milky Way rising over the ovens. Conditions were excellent with the exception of a huge storm moving into the area.
Thunder, lightning and torrential rain fell through most of the night. I had given up on the idea of getting any pictures but Robin kept sticking her head out of the motor-home to check on the conditions. After hours, she announced, with some enthusiasm, for me to come and check out the scene. What I saw was a spectacular sight!
The storm was clearing and there were a few broken clouds low in the horizon. I had never seen such bright stars and clear sky. As the few remaining clouds moved in front of small sections of sky, they added an amazing beautiful depth to the scene. I had never seen the Milky way under such conditions. Now, when planning a Milky Way photo outing, I always look forward to storms. I once avoided such conditions. I now embrace them!
To help me plan my outings I refer to my favorite app., Photopills. It is a wealth of information about the moon and sun phases as well the precise position of the stars at any time of the year. https://www.photopills.com/
In summary: Select a dark location without moonlight or ambient light pollution, use the widest lens possible, shoot wide open, focus by using the hyper-focal distance of your lens, don’t exceed the 500 rule, use a sturdy tripod (weight it down), use a cable release or the camera’s 10 second delay, reduce the brightness of your viewing screen 1.5 stops darker than normal, use the 5x and 10x to enlarge the image for critical focus and to review of the images, with the lens wide open (f/2.8 or f/4) and your focus set, all that is left is to adjust the ISO. Start at 4000 ISO and see how the image looks. If the image is too dark, increase it to 6000. If it is too bright, reduce the ISO to 3000.
Have fun and don’t be afraid to experiment. If you are lucky, you may be in the perfect spot when a thunderstorm rolls through!
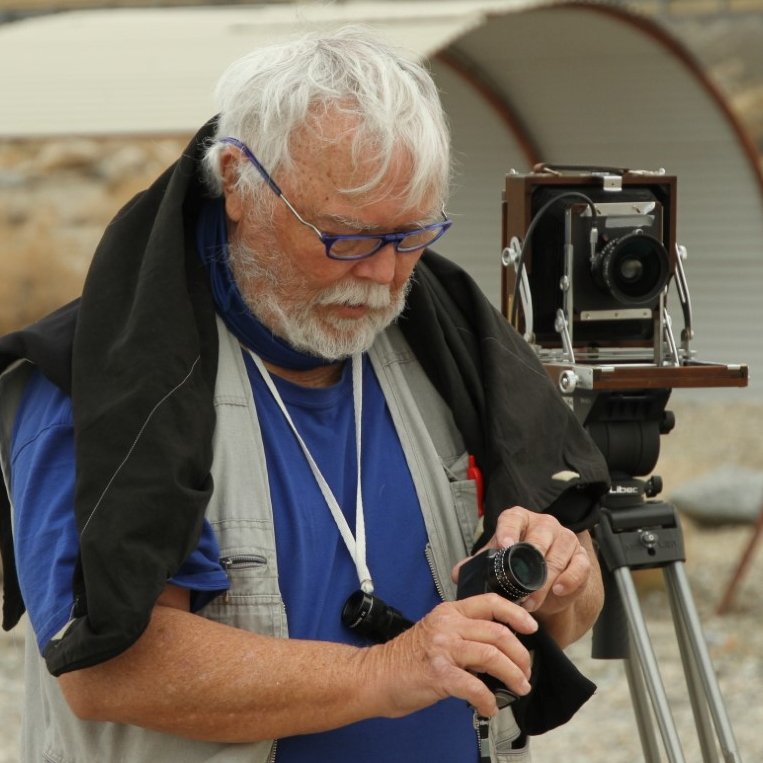
Richard Massey is an international award-winning photojournalist and freelance-writer. He has a passion for film and does much of his photography using vintage film cameras…as seen here. His interest in teaching has led him to start a photography YouTube channel: https://www.youtube.com/channel/UChdW0Jjsca47EpKE5N_jtag

More Stories
Four Days, Countless Memories: A Yerington Family’s Nevada State Fair Journey
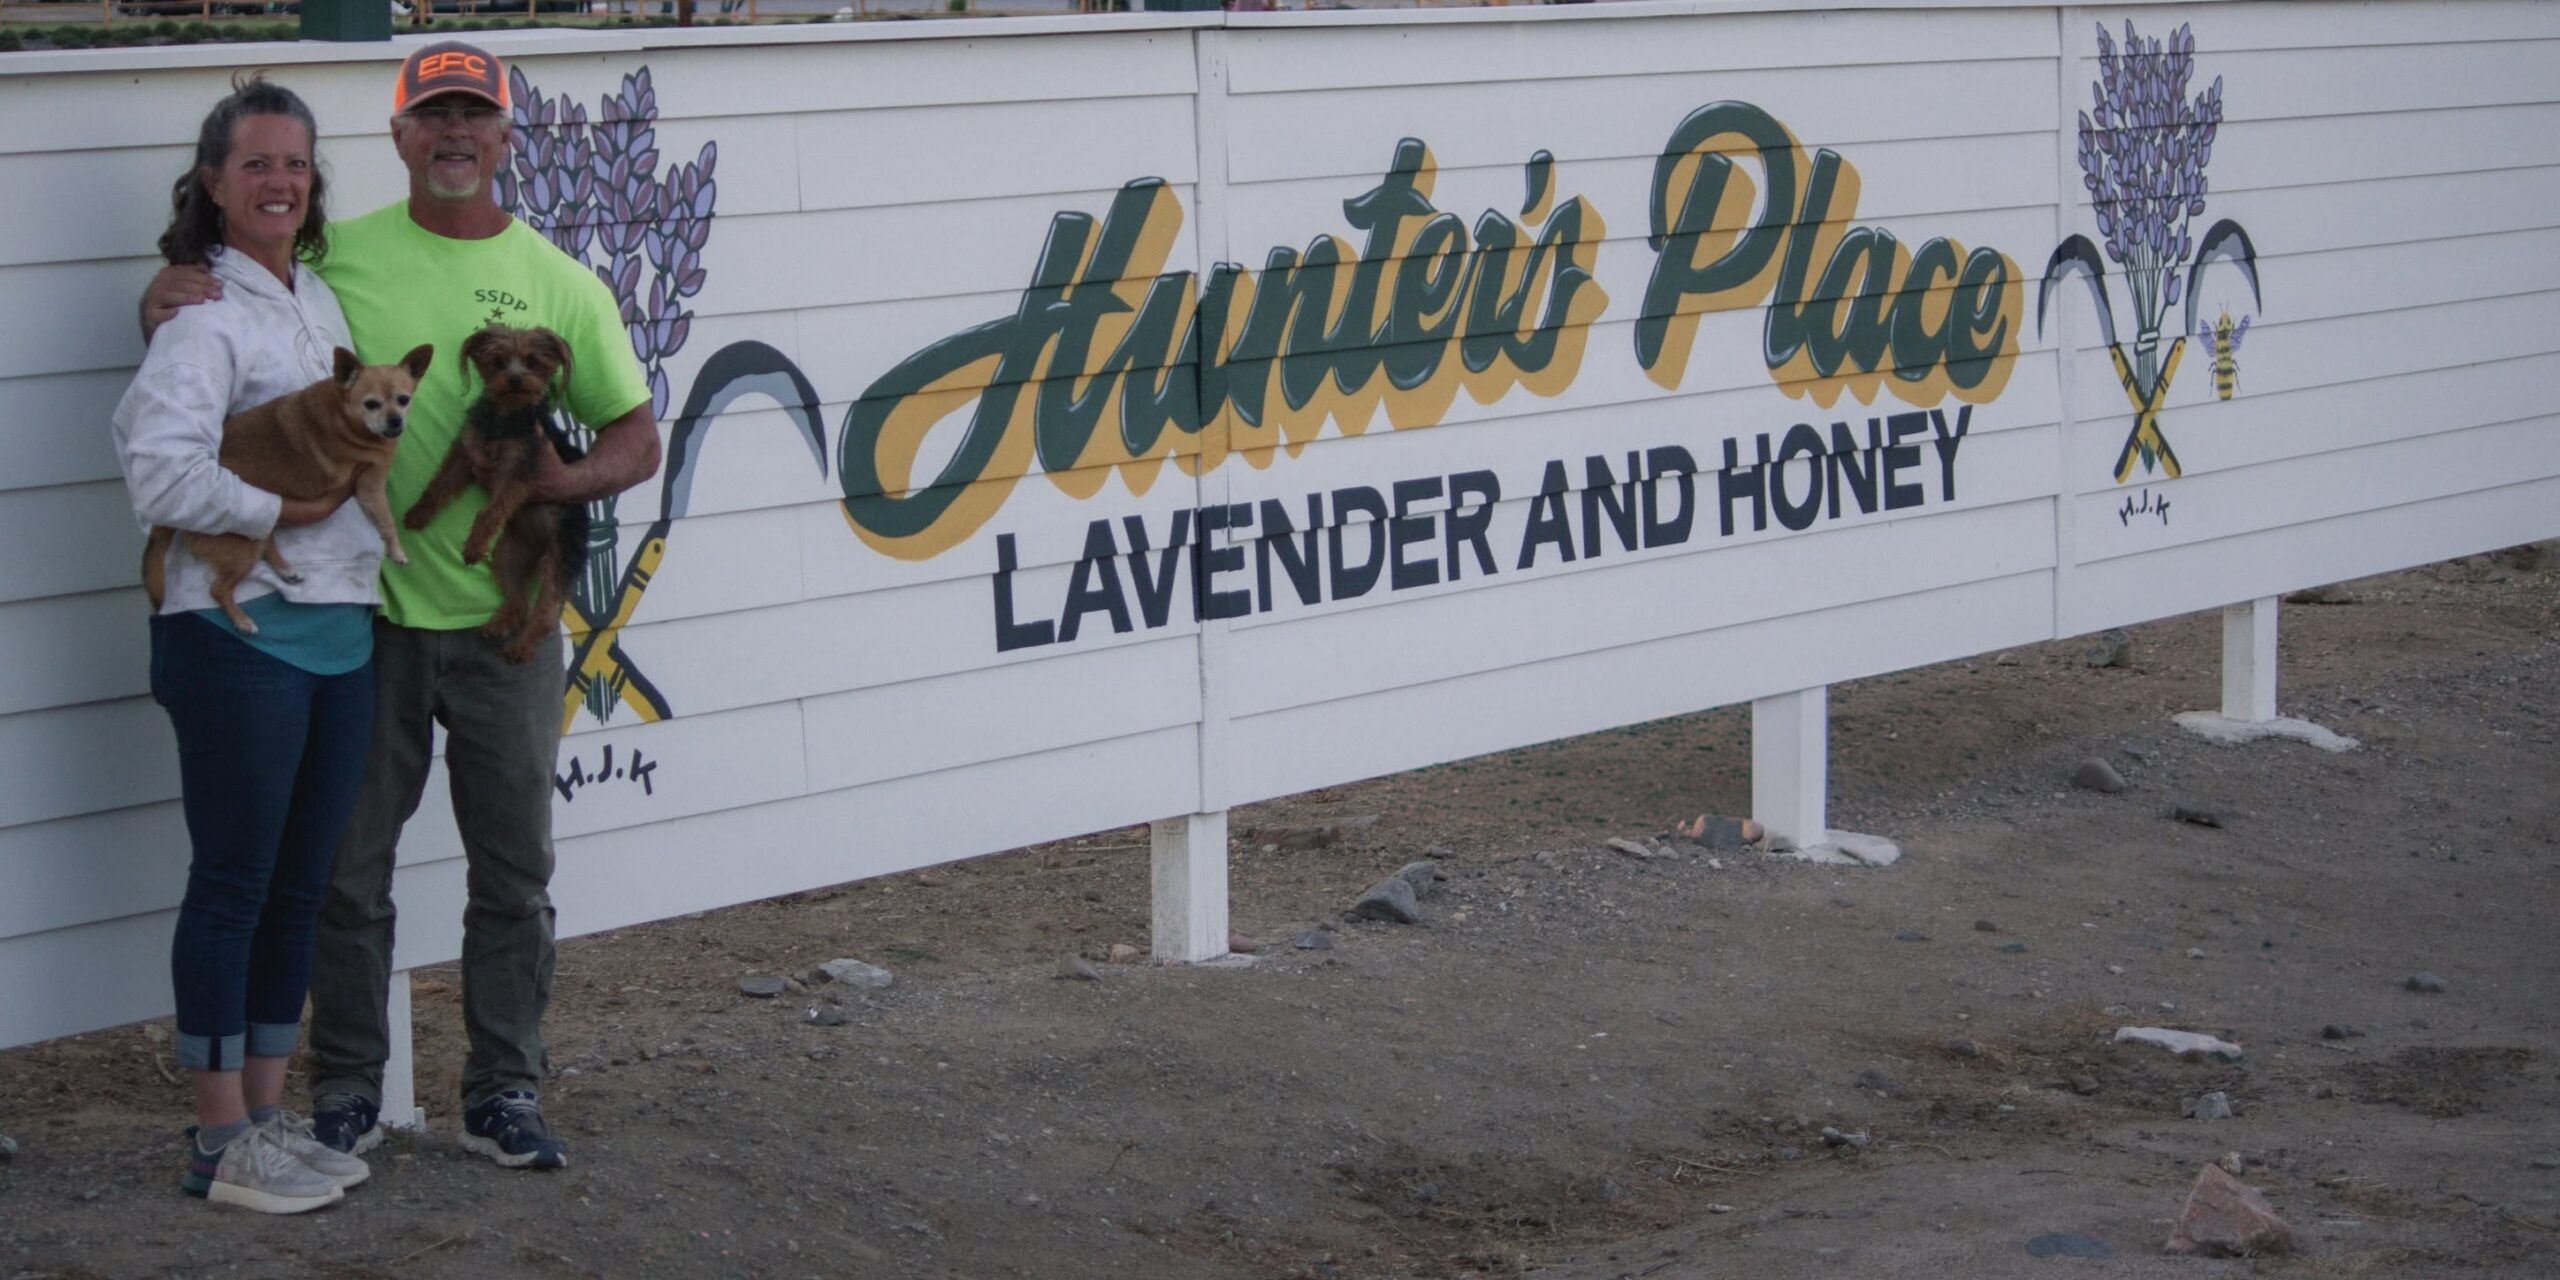
Hunter’s Place Showcases Agriculture, Events, and Community Spirit
Community Invited to Artist Reception Featuring Photographer Roberta Bryant: Friday, June 12th, 6-8pm